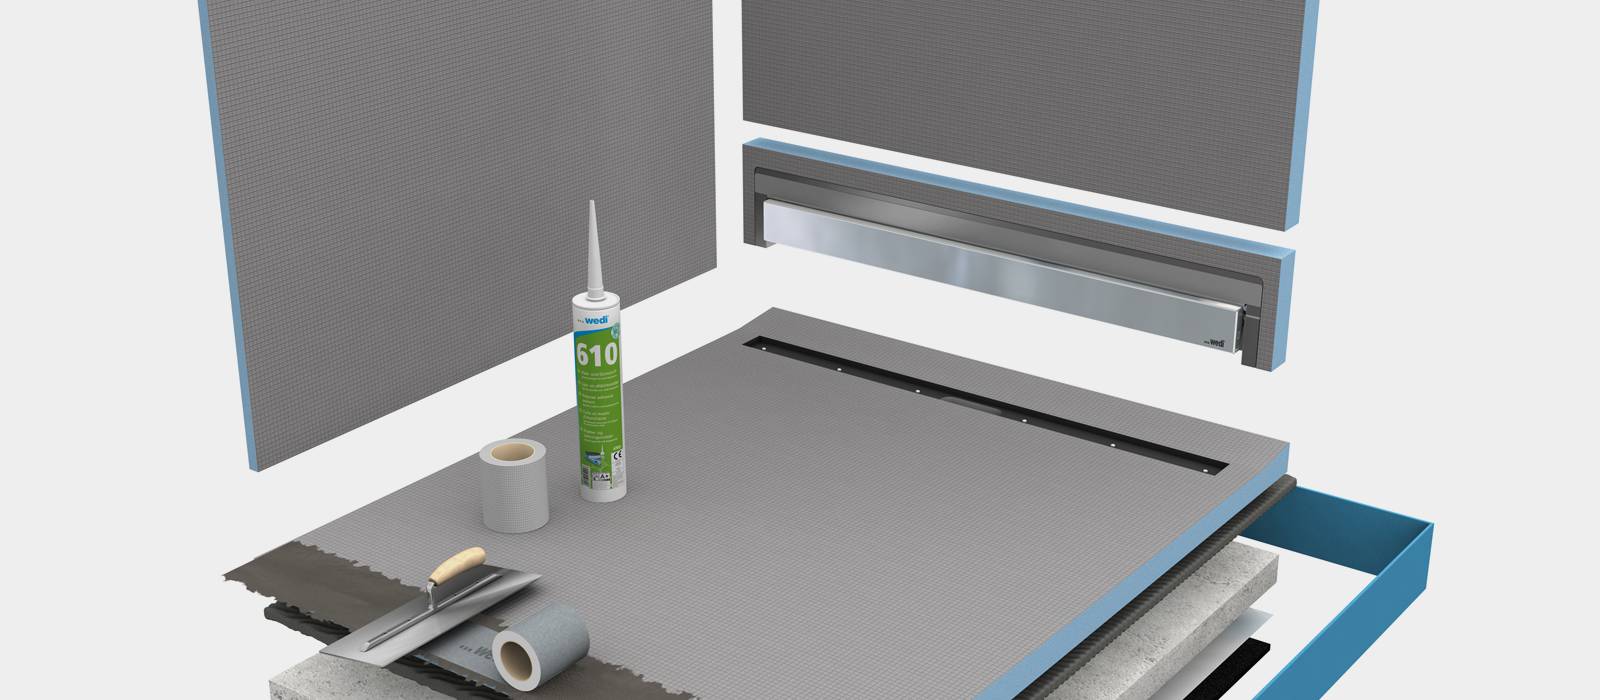
wedi Fundo Riolito Discreto – Timeless design and a whole range of new design possibilities. The completely-new Fundo Riolito Discreto really crowns off the tried and tested Riolito system. As a simple attachment element, this clever innovation creates an attractive wall drain. The attachment element can be expanded in all directions. Whether it be as a seating area, storage space or a full wall panel, with these system components, design possibilities are endless. Perfection in design.
Step 1The Riolito Discreto element can be pre-assembled at a comfortable working height.
Step 2Insert the grey tiling guides. They are included in the scope of delivery of the Riolito shower element.
Step 3Place Discreto element into position and sparsely apply wedi 610 adhesive sealant. (Important: also apply to foam edge!).
Step 4Place the Riolito Discreto element into the groove of the Riolito shower element and press down. The tiling guide limits forward movement/orientation.
Step 5Check for correct alignment (perpendicular to underside of Riolito shower element)
Step 6Fasten the Riolito Discreto element from behind by using screws. This allows work to be continued immediately afterwards, without having to wait on hardening of the wedi 610 adhesive sealant.
Step 7wedi 610 adhesive sealant pressed into the interior can be easily removed with a utility knife after it has hardened.
Step 8Apply wedi 610 adhesive sealant onto the back of the metal bracket.
Step 9Take a floor tile. Place it into position and simulate the tile adhesive layer with a piece of cardboard. Place the wedi building board spacers onto the tile, and bond the metal bracket to the front of the Riolito Discreto element. Wait until the adhesive has dried (3 to 4 hours). Install the Riolito shower element in accordance with the Riolito installation instructions.
Step 10In order to retain the correct and required distance between the floor and wall tiles, use the spacers again, as described previously, and place them to the very outside and flush to the edge, with the lip facing outwards (see figure 10)
Step 11This also applies to creating a frame from tiles profiles, as is illustrated in Figure 12.
Step 12Installation of spacers as described above also applies to creating a frame from tile profiles.
Step 13aSelect the desired side of the cover (stainless steel surface or tiled). Place the mounting bracket panels into the opening on the shorter side of the cover so that the hooks are facing backwards (away from the visible side).
Step 13bIt is essential that position and alignment are checked again! This is because subsequent correction will not be possible with future tiling of the visible side.
Step 14Place the alignment template with the hole on the side fixture, and slightly unfasten the screws. Align the mounting bracket so that the template is flush to the wall tile and touches the floor tile.
Step 15Here, the flush position of the back edge of the template to the front edge of the mounting ensures the correct vertical position. Now tightly fix the mounting bracket using the Allen key.
Step 16The cover caps (scope of delivery, no. 8) should be pressed onto the visible threaded rods.
Step 17Finally, the cover is mounted. You can hear it click into place by pressing lightly on the upper edge.